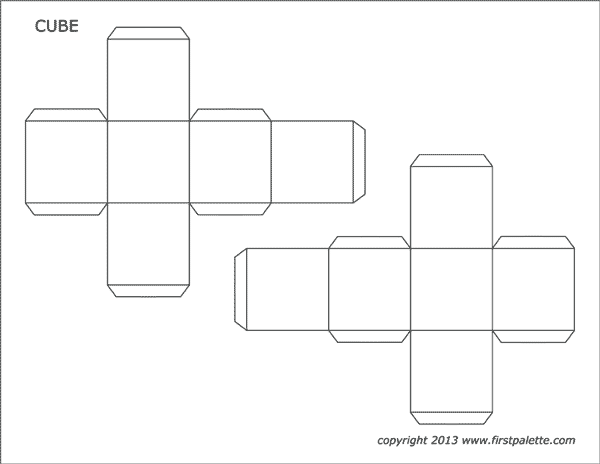

Print out either of these cube templates on A4 or Letter size cardstock.
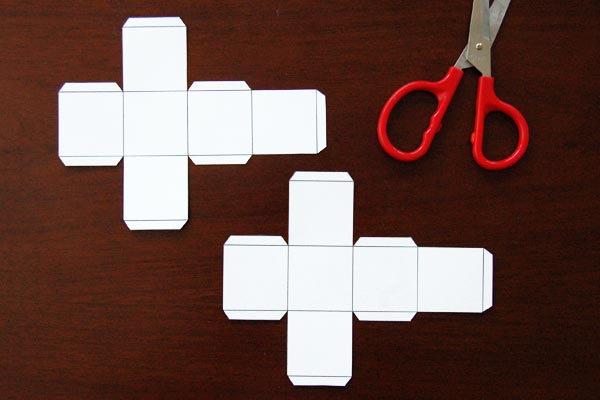
Cut out the cube templates.
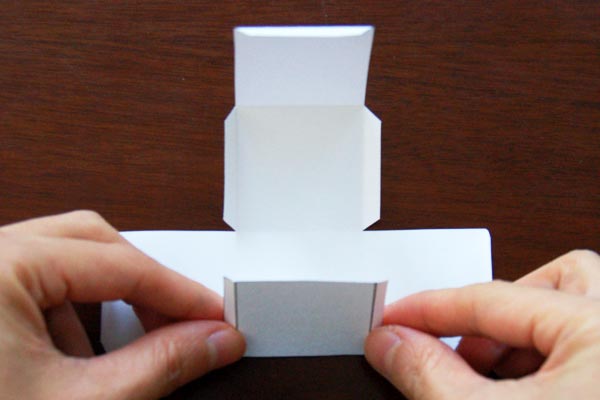
Fold each cube template along the inside lines.
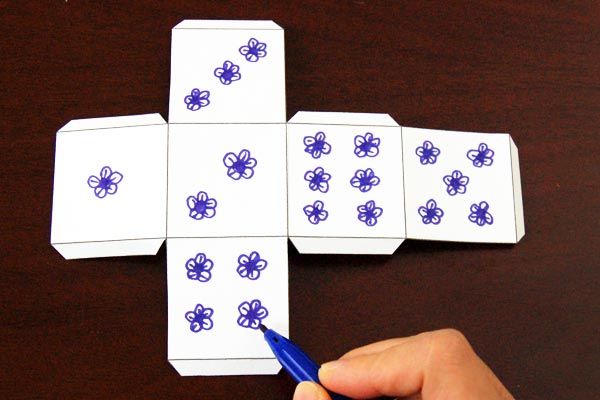
The die's 6 faces show a different number of dots from 1 to 6. You can draw dots or make other fun shapes like small flowers, stars, hearts, or smiley faces.
If you are keen on following a real die's positioning of these dots, follow the positions as shown in the photo. When assembled into a cube, you will notice that opposite faces of the die add up to 7.
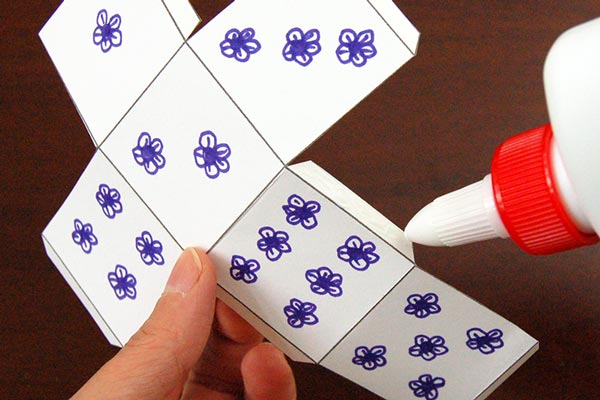
Apply glue on one of the tabs.
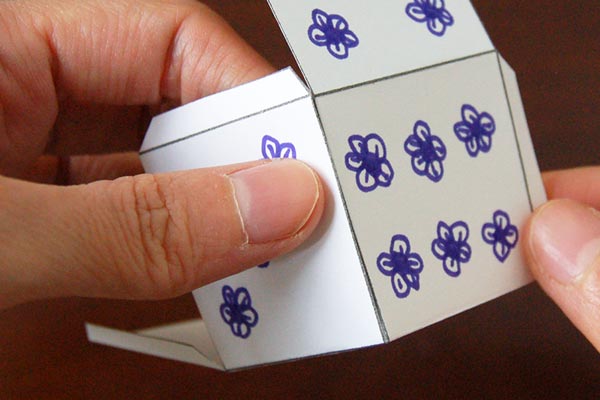
Glue the tab behind the adjacent face.
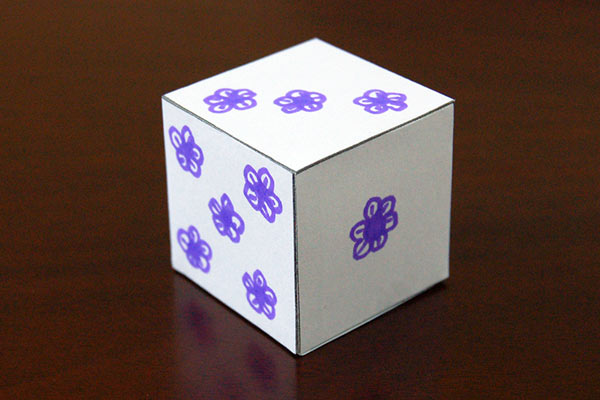
Glue the rest of the faces together along the tabs following Steps 5 and 6 to form a cube.
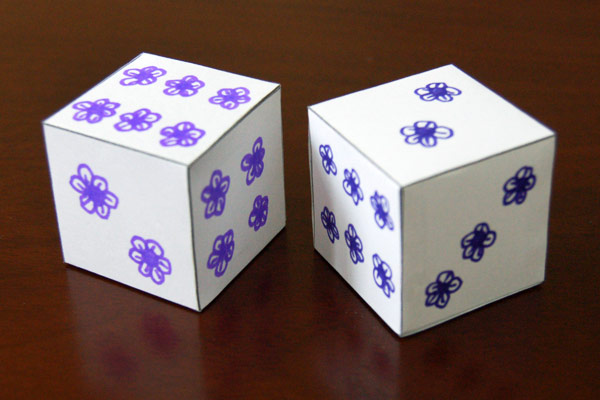
Make a pair of dice to use for games or simply use them to practice counting and basic addition.
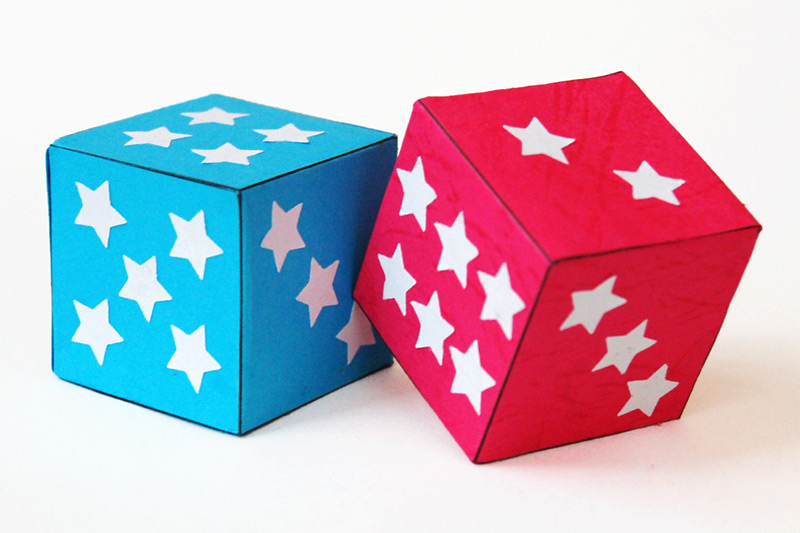
Print out the cube template on colored cardstock to come up with brightly-colored dice.
Instead of drawing shapes on the dice, you can glue small paper shapes or put small stickers on the faces of the dice.